Rancher and Rancher Nfs Simple How To
Rancher is an awesome container management platform and they offer a great ‘ quick start guide’, if you really want to get up and running quickly. Unfortunately I found the persistent storage section a bit limited and I had some troubles figuring out how I could use my Synology NAS as a shared storage for my containers. In my setup I use Cattle, which is the default environment.
Prepare your NAS
The first thing I encountered is that the latest version of Rancher-NFS v0.6.5 only supports NFS version 4, so make sure that your NFS server is configured to support NFS version 4 on my Synology NAS this was easily done by just checking the checkbox ‘Enabled NFSv4 support’. I won’t go in to deeper details about configuring the NFS server and assume this is already available in your environment and that a share is created for use with Rancher.
Prepare Rancher
- Install the Rancher-NFS service Go to Catalog -> Library and select the Rancher-NFS service.
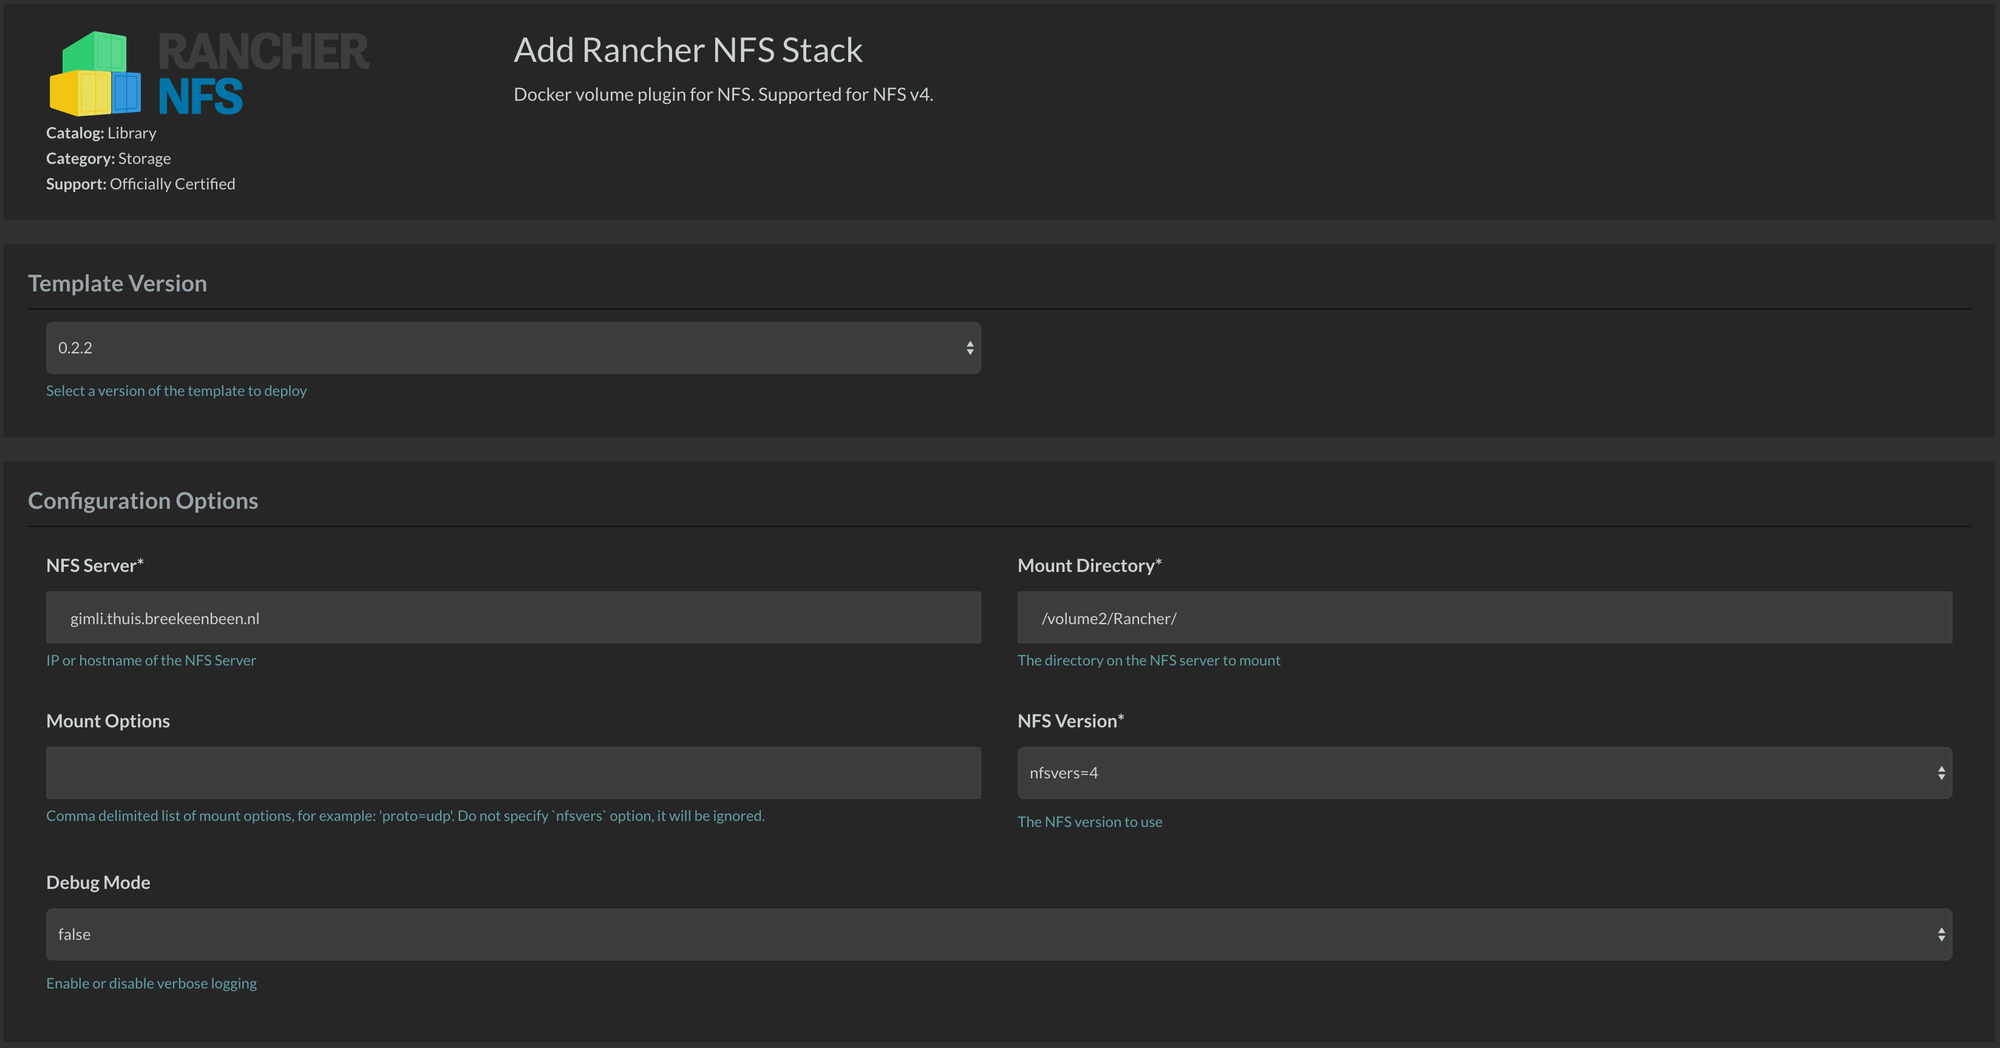
- Fill in the IP address, hostname or FQDN of your NAS service and the path to the share.
-
Create a volume, this can be done manually in
Infrastructure -> Storage -> Add Volume.
Another option is create the volume while creating a new service. Go to
Stacks -> Add Service.
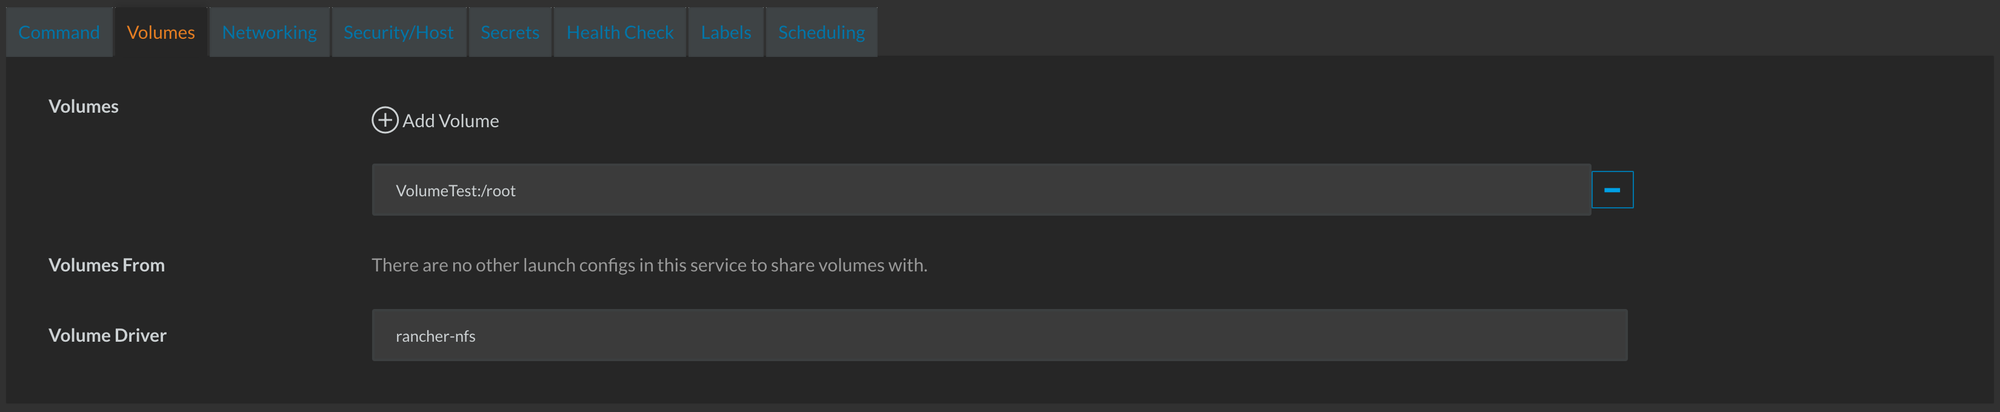
At the end of the page there is a tab ‘Volumes’, first type the Volumename, this will be a new folder within the share on the NFS server. Then type : and the mountpoint within the container. In this example I mounted ‘/root’. At the driver type ‘rancher-nfs’.
Volumes - ‘volumetest:/root’ Volume Driver - ‘rancher-nfs’
-
That’s it, the volume will be created.
Volumes will not automatically deleted when the service is deleted, they will show up as detached instead, to check this, go to;
Infrastructure -> Storage

As you can see, once figured out it is quite simple :)